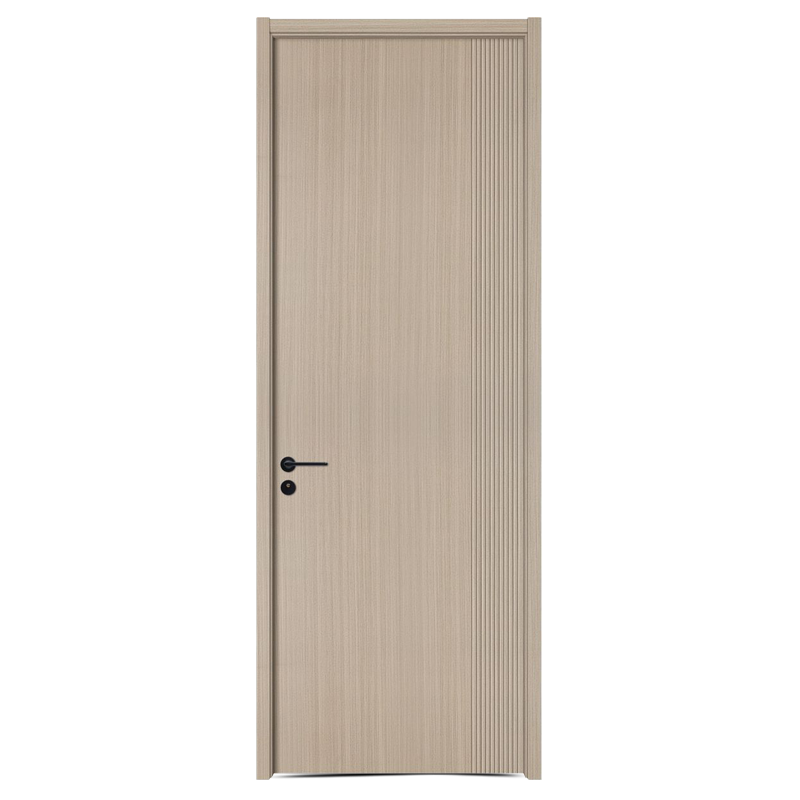
How do you handle repairs on a wooden door, such as filling cracks or holes, before starting the painting process?
Handling repairs on a wooden door, such as filling cracks or holes, is a crucial step to ensure a smooth and professional paint finish. Here's a step-by-step guide on how to handle these repairs:
Materials Needed:
1.Wood filler or epoxy filler
2.Putty knife or a scraper
3.Sandpaper (medium and fine grit)
4.Wood glue (if dealing with loose joints)
5.Clamps (if needed for securing loose joints)
6.Primer (optional, depending on the type of filler used)
Steps:
1. Clean the Surface:
Before any repairs can begin, it's essential to start with a clean surface. Use a clean, damp cloth to remove dust, dirt, and any loose paint from the door. This step ensures that the repair materials adhere properly to the wood surface.
2. Fill Cracks and Holes:
For small cracks and holes, opt for a high-quality wood filler that matches the color and type of the door. Carefully apply the wood filler using a putty knife, pressing it firmly into the damaged area until it slightly overflows the cavity.
In the case of larger holes or gaps, epoxy wood filler, known for its durability and strength, is a suitable choice. Prepare the epoxy filler according to the manufacturer's guidelines and fill the void, ensuring it slightly protrudes above the surface.
3. Smooth the Filler:
Use a putty knife or a scraper to level the filler with the surface of the door. Work meticulously to create a seamless transition between the repaired area and the surrounding wood. Pay attention to achieving a smooth finish, as any imperfections will be visible after painting.
4. Let It Dry or Cure:
Allow the filler to dry or cure completely based on the manufacturer's recommended drying time. It is crucial to exercise patience during this phase to ensure the filler achieves its maximum hardness and stability.
5. Sand the Repaired Area:
Employ medium-grit sandpaper to sand the repaired area gently. Sand in smooth, even strokes until the repaired section is perfectly level with the surrounding wood. Be meticulous in this process to avoid uneven surfaces that may affect the paint application.
6. Inspect for Imperfections:
Conduct a thorough inspection of the repaired area. If any imperfections, divots, or unevenness are detected, repeat the filling and sanding process until the surface is flawlessly smooth. Attention to detail at this stage ensures a professional finish.
7. Address Loose Joints (If Necessary):
If the door exhibits loose joints, disassemble the parts and apply high-quality wood glue to the joint surfaces. Carefully reassemble the door components, ensuring a tight fit. Secure the joints with clamps, and allow the glue to cure fully. Sturdy joints are vital for the door's structural integrity.
8. Priming (Optional):
Depending on the type of wood filler used, some formulations may require the application of a suitable primer before painting. The primer ensures proper adhesion of the paint and enhances the durability of the repair. Consult the filler manufacturer's guidelines to determine if priming is necessary.
9. Painting:
Once the repaired area is impeccably smooth, primed (if required), and completely dry, proceed with the painting process. Select a high-quality paint suitable for wooden surfaces. Apply the paint evenly using a suitable brush, roller, or spray gun, following the manufacturer's recommendations for the chosen paint type.