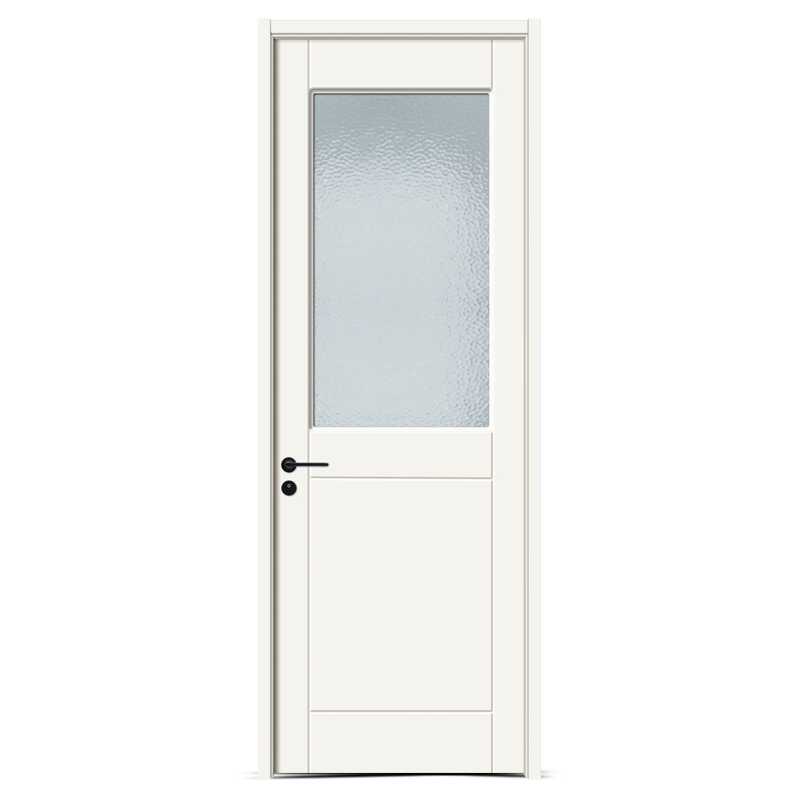
Home / News / Industry News / How do you ensure that the paint on a veneer painting door adheres properly to the veneer surface and does not chip or peel over time?
How do you ensure that the paint on a veneer painting door adheres properly to the veneer surface and does not chip or peel over time?
Ensuring that paint adheres properly to a veneer surface and does not chip or peel over time requires careful preparation, the use of suitable materials, and proper application techniques. Here's how professionals typically ensure a durable paint finish on veneer-painted doors:
Certainly, here's an expanded and more detailed explanation of the points mentioned for ensuring proper adhesion and durability of paint on a veneer-painted door:
1.Surface Preparation:
Cleaning: Begin by cleaning the veneer surface with a mild detergent to remove any dirt, dust, or grease. Use a lint-free cloth or sponge to avoid leaving residues.
Sanding: Lightly sand the surface with fine-grit sandpaper (around 150 to 180 grit). Sanding not only smoothens the surface but also provides a slightly rough texture, which helps the primer adhere better.
Repairing Imperfections: Fill any cracks, dents, or holes with wood filler and sand the repaired areas to ensure they are flush with the rest of the surface.
2.Primer Application:
Choosing the Right Primer: Select a high-quality primer specifically formulated for wooden surfaces. A bonding primer is ideal for veneer as it creates a strong adhesion between the wood and the paint layers.
Application Technique: Apply the primer evenly using a high-quality brush or spray gun. Allow the primer to dry completely as per the manufacturer's instructions. Sand the primed surface lightly with fine-grit sandpaper (around 220 grit) to create a smooth base for the paint.
Choosing the Right Paint:
3.Paint Type: Opt for a premium latex or acrylic-based paint. These paints are flexible and adhere well to wood surfaces. They also resist cracking and provide a smooth, even finish.
Finish: Choose between matte, satin, semi-gloss, or gloss finishes based on the desired look. Consider the location of the door; for example, high-traffic areas might benefit from a more durable semi-gloss or gloss finish.
4.Proper Application Techniques:
Thin, Even Coats: Apply the paint in thin, even coats to prevent drips and ensure proper drying. Multiple thin coats provide better adhesion than one thick coat. Use long, smooth brush strokes for a professional finish.
Drying Time: Allow each coat to dry thoroughly according to the manufacturer's instructions. Painting in a controlled environment with good ventilation helps expedite the drying process.
5.Sand Between Coats:
Light Sanding: After each coat of paint has dried, lightly sand the surface with fine-grit sandpaper (around 220 grit). Sanding between coats promotes adhesion, smoothens imperfections, and allows the subsequent coat to adhere better.
6.Humidity and Temperature Control:
Ideal Conditions: Paint in a controlled environment with moderate temperatures (usually between 50-85°F or 10-30°C) and low humidity. Extreme temperatures and high humidity can adversely affect drying times and adhesion.
7.Seal the Finish:
Clear Sealer or Varnish: Once the final coat of paint has dried completely, apply a clear sealer or varnish. This protective layer enhances the durability of the paint, guards against stains, moisture, and physical damage, and provides a professional-looking finish.
8.Regular Maintenance:
Educating Clients: Provide clients with a maintenance guide, advising them on how to clean the painted surface without damaging the finish. Recommend avoiding abrasive materials and harsh chemicals that could wear down the paint over time.